Saturday, December 22, 2012

Mini Orb in the Passage Way

mini orb ceiling of passage way trimmed and finished neatly
 Slowly but surely we are making more and more progress with the renovations in the back.  The laundry is working now, and the bathroom in it lacks only additional glass screen or doors in the shower.  The storeroom is pretty much done too.  Both rooms now have door framing and doors hung.  The framing and doors them selves need to be painted up.  A task likely to get done soon, but on a day when not 35 C !  For fun the doors will be bright colours (I think, ...I mean--why not ?!)
insulation batts go into
passage way roof cavity


Now that the laundry/bath and storeroom are pretty much done, it is time to get the passage way done.  This week has seen that go from not much to nearly complete.  Last week we took delivery of mini orb, in long six metre sheets, needed to do a tidy  finish to the ceiling of the passage way, which runs horizontally past half of the back of the house, with the back foyer area in house structure and the new laundry and storeroom spaces across the passage way from the back foyer doorway and windows.

First Ian put up the rest of the insulation batts.  I was rather relieved about this, because I wondered what we would do with it all, the left over portion from roof space above laundry and storeroom.  I must say, those rooms have stayed temperate, even on hot days, so the insulation is so helpful.  None of those rooms or the passage way running in front of them have very lofty high ceilings.  So the insulation is essential to keep the area from feeling like a little furnace.

the passage way ceiling looks excellent
The area for the ceiling was already framed in steel, work done earlier when Ian was doing a lot of framing.  Once the insulation was in place, he began to put up the long sheets of mini orb steel.  I take it this was a tricky or even unpleasant job, probably because the sheets are very long and we don't own a sheet holder.  I had to work, so could not help this part of the project (and I might not have been very useful anyhow, that is how some of these things just are...Engineering Department finds me not to be useful enough, tall enough, strong enough, or at times I haven't the right attitude !  At times, it seems best to just stay out of the way...).

Now you can see on left the passage way ceiling is done.  Wiring ready for the flushmount light fitting.  Edging neatly applied to finish off the mini orb.

I have been asked what colour will get painted  in the passage way.  Happy day--the icky sicky mint green paint over render can Finally get covered over.  The answer to all of this is a grey colour.  something that will look industrial, not too dark, but with lights will look very smart.  I have to find a suitable product for the icky green side on the right of the snap, as Ian prefers a textured finish over having to make the existing mess of a finish perfect.  The sheet board on left side of the passage way will be the same, but it just needs a primer on the wall finish and then a lick of paint.

close up of hammer finish
metal paint in Gunmetal

Meantime, just outside the passage way (which in last pic is far on right, the dark area)., we have  clad the other side of laundry shower wall in colour bond we had left over from other projects here.  There were two different colours so it looked patchy and funny.  We had some metal paint in a hammer finish that was used on the kitchen island left over.  Just enough to do the job.  Left photo shows the hammer finish in gunmetal colour way, close up.
the cladding for wall, painted to unify scraps of different
colours Colourbond

meanwhile, with washer and dryer in their new home, there is room in the back foyer for a utility sink area.  More on this soon, the plan is drawn up, it awaits its turn for materials procurement now.  Maybe late next week even !

Next work after that will be to finish up bits and pieces, and start making the list we need to do the studio enclosure.  Its the last job to tackle out back.   Stay tuned, as we work to complete the last chapter of the work.

Thursday, November 22, 2012

Almost Done: Laundry & Storeroom

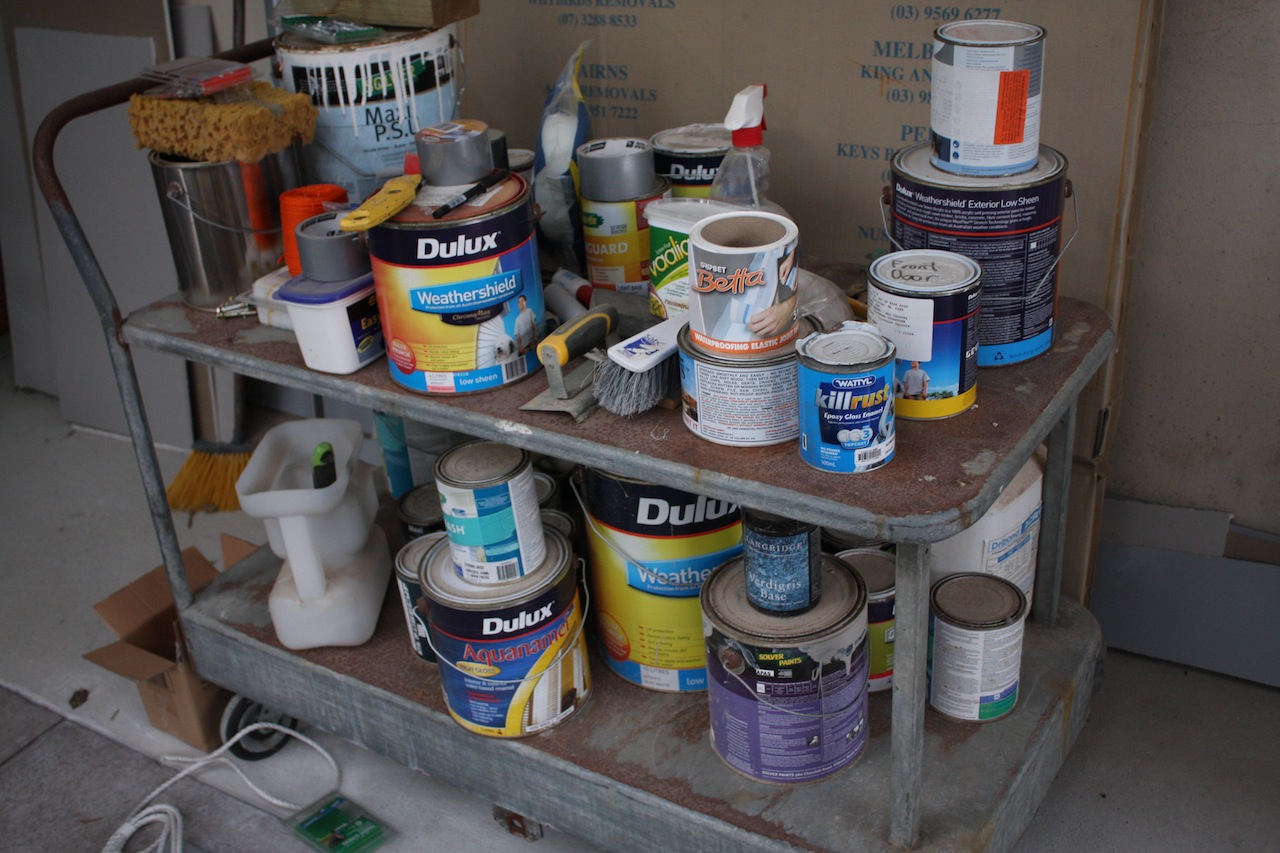
 It has been a busy spring of construction so far.  I found a fab old shop trolley and brought it home to keep and use for my art paints, palettes, and mediums.  Someday (when I have a completed studio space to deploy it in !).  Meantime, it has gotten pressed into service as a paint trolley for our works in progress.

And so while Ian tackles jobs big and small around here, things are coming together.

storeroom, with a crate
sitting in middle of the
space
laundry/bathroom, feels
a real room now !


The storeroom and the laundry/bathroom are looking pretty good.  These photos show both as they looked when I departed on the latest business travel, at end of October.  Both rooms with tidy wall boards and ceiling board.  Plus some moulding at top of the walls.   What a difference it makes having the walls and ceilings up.  Like "real rooms."  Though no lights as yet.  You see the electrical cables hanging from the ceiling for the overhead lights.  The photo of laundry on left has a worklamp in it at time of the photo, to light up the area.  Both areas have concrete slab floors, but a bit rough, they will get covered with tiling later.


Laundry now ready for service.
Two overhead lights, installed but replacement
glass domes on order
 And then after my travel, I returned mid November to find a lot done !  Lights connected and installed.  Warm mid grey porcelain floor tiles leftover from our inside renovations laid and grouted.  Walls finished off and painted (Porter's Icelandic Stone in Laundry, Porter's Old Church White 200% in store room).

In the laundry the shower base, toilet are in place.  A sink cabinet and new tap installed.  A broom cabinet also put in the corner.  The washer is in place and even working !!


The overhead lights need new glass covers, as both were broken when we opened the box.  Apparently happened to a lot of buyers of them, the supplier has had to order replacements. But they work !  We will be putting in a sky light in between them.  Sometime in early 2013.  The skylight fittings we want are 440 dollars, just for all the materials.
Accent light fitting above sink.
Need to put up a mirror or mirrored cabinet.
Must find the Dryer bracket
to mount it on the wall.


the shower area, not yet tiled
 The decision of what colour for the laundry walls was especially difficult.  What to use with the mid grey floor tiles, the white appliances and sink cabinet ?  And the cream coloured tiles we have for the shower.  White would have seemed more versatile, but we got the tiles for a good price, $5 a box.  And they are older tiles, made in Australia.  Simple 100 x 200 subway tiles.  But cream, not white.  I was intent to find a way to use them, as we have had to do everything we can to reduce outlay for this laundry/bathroom.  We will also order or later get a piece of tempered glass for the side of the shower nearest to the toilet fitting.  A fixed pane of glass for side of the shower.  The other two are the corner shown in the photo, yet to be tiled.  The un covered side will have a rail and a shower curtain.  That's the plan at this point !
Storeroom. one overhead
ceiling light and two
pendants, with simple
decorative glass bulbs.

And the store room is looking very neat and tidy.  A few boxes already moved in.  More when the base moulding can go in.  The wall on right (where the crate is) will be storage.  I hope a wall full of closet/cupboards.  Not too deep, maybe 60 cm deep.  Floor to ceiling (which is not that tall).  Fitted with shelves for lots of storage space.  Underneath the pendant lights, will be a desk.  To its left, most or the whole wall will get painted with chalkboard paint.

More soon, I have more with tiling done to show next post.

Friday, September 28, 2012

Looking Like Progress

Wall boards have gone up this week--
it's beginning to look like a real room !
Wiring for overhead lighting dangles from ceilings.
The work on the back construction has gone so slowly this late winter, or so it seems.  I know it is all important bits, framing, preparations to put things in place.  But it has taken its time, even though Ian works on it all week and every day, all day long.  He only takes breaks to do other chores or watchmaking on the weekends.  So good marks for industriousness for sure.  But the work that has been underway was just that sort of slow thing that takes while when only one person is advancing the tasks each day.


Last week the electricians were in doing some cabling and soon we need to have the lighting fixtures ready to be put in and connected.  Must source these before they come back--needs to be at the ready (so I am told !)
wool insulation in the ceiling space

So this week it was a bit exciting to see insulation batts appear on the construction site !  Honestly, I never quite know what will be out there or going on when I step out the back door, so this was a surprise and a development too !  Eco wool batts, nice and fluffy and not as scratchy as fiberglass sorts.  They looked like dirty sheep in colour actually like noone bothered to wash the fleece (like sheep can look when running around in dusty paddocks, the same colour as the ground they trod upon !).  Apparently there is a mix of fibres in there, including some little bit of glass content, but it does look and feel like pure wool batting.

gyprock sheet lifter,
a very useful tool
The insulation went in between the framing and then wall boards went up.  Ian borrowed a gyprock sheet lifter to put the ceiling panels up.  But even with the lifter, it was still a heavy and difficult job for one person going it alone.  (I wasn't readily available throughout the timing for this task, with work and other appointments already committed.  And maybe I am not the best helper for a task like this anyhow ?).

some wall and ceiling boards  now up in the
laundry/bathroom (pale grey)
Today the wall boards started to go up.  And by afternoon, what a transformation.  Before that it all looked so rough and like an outdoor place.  By afternoon it was looking like an interior room !  I can really see what the space will be like.  Yes, these two rooms are smallish, not palatial proportions to be sure.  But they are now looking very tidy and I can imagine they will work out very well.  For people just checking in or finding this story, the room on the left and below foreground (before ladder) will be a combined laundry and bathroom.  The room in the photo below (at and beyond the ladder) will initially be a store room, but next year we will fit it out with a wall full of built in cabinets/cupboards, a desk, and a wall (opposite the built in storage) painted in chalkboard paint and covered to allow sketches and also place for creating mood boards or other inspirations.  The wall board material in the two rooms is different, a water resistant product has been used for the laundry/bathroom (paler grey finish, the regular gyprock is a grey beige colour)

wall boards on walls and ceiling
of the storeroom (beige).  
Both rooms will have sky lights.  Ian has found a sort he will order, not cheap, but looks well engineered.  Oh well, why not !  The space between their exterior dome and the interior is short, so not much ducting or tubing is needed.  But these rooms are bounded on sides by thick stone retaining walls, and a low ceiling.  Windows were not practical.  So sky lights will give us some filtered light during day hours.  And we will have good lighting for other times.  The skylights will be where you see green in between the insulation battings.  Though now ceiling boards cover it, and have careful markings to cut the interior skylight area when the exterior skylight unit has been installed.

Part of next week I am away to Sydney, short business trip and doing my world hours plus local timings meetings from there.  Wonder what things will look like on my return ?  Stay tuned for more news.  And maybe some ideas on procurement of lighting fixtures.